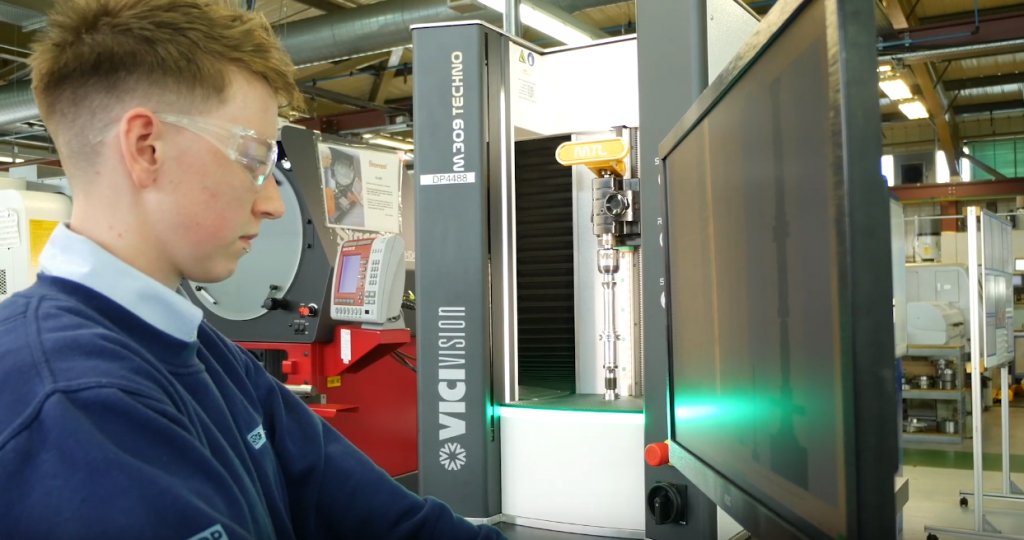
CUSTOMERS FEELING THE BENEFIT AS OPTICAL MEASUREMENT SLASHES FIRM’S DOWN TIME.
A precision sub-contract engineering firm established almost 70 years ago, David Paull (CNC) Engineering has built a strong reputation for delivering quality products.
The often-critical components it machines are used across the marine, aerospace, defence, oil and gas, pneumatics, medical, leisure and tourism sectors, meaning form, function and safety cannot be compromised.
Operating on both a large and small scale, the Cornwall-based company prides itself on its fundamental philosophy of offering a tailored, state-of-the-art engineering service to clients, where accuracy is paramount.
While the business’s values have remained a constant guiding light, it retains strong ambitions for further development and growth.
One key area identified by DP Engineering as prime for improvement was the quality control side of its operations. Due to the complexity of its products and the materials required to make them, the company has in the past been heavily reliant on manual inspection methods.
The time-consuming nature of this traditional approach was proving a major concern for a business with aspirations to increase its capacity and productivity. In addition, the subjective nature of manual measurement brings with it the risk of inaccuracy, as the process is neither repeatable nor quick enough to be applied to anything other than batch sampling.
To help meet its objectives, DP turned to VICIVISION UK – the leading supplier of optical, non-contact, turned-part measurement machines and quality control systems across the UK and Ireland.
It installed the TECHNO M309, a shop-floor ready system with wide measuring fields, impressive load capacities, high-resolution capabilities and intuitive software, designed to measure cylindrical components quickly and with absolute precision in the heart of the production environment.

DP Engineering’s Philip Anthony said:
“We’re seeing the benefits on components which have a lot of external features. Whereas we would use to have to check on different bits of kit – such as external lengths on a shadowgraph, contracer and height gauges – now it can all be done on one machine.”
“There are features you can measure on the VICIVISION that you can’t measure on a co-ordinate measuring machine (CMM), so we use them in parallel.”
“It’s aided our production. We make our money from cutting metal, so any down time is a no-go, and the VICIVISION machine has certainly reduced our down time.”
Mr Anthony added: “The biggest thing for us is the in-process inspection – where you could do a sample size before, now you’re not limited as to how long things take. There’s no issue with running a whole batch, let alone sample parts.”
“It enables you to complete things a lot quicker and we’re able to offer a more competitive price as a consequence.”
VICIVISION makes immediate inspection available next to multiple machining centres, to more than one operator, eliminating bottlenecks and leading to a reduction in idle time as there is no need to leave the production environment.
Fast, non-contact, non-destructive measurement on an all-in-one system is done at the touch of a button, with fast and efficient batch changing contributing to greater throughput.
The efficient, accurate and reliable measuring processes made possible by VICIVISION systems give manufacturers total peace of mind when it comes to the repeatable supply of quality products.
With increased productivity comes increased capacity, allowing businesses to take on more work with the confidence that demand and quality standards can be met.
Article of the official Vici & C. dealer: VICIVISION UK
