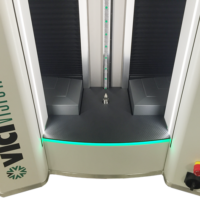
M Series
The best price-performance for subcontracting.
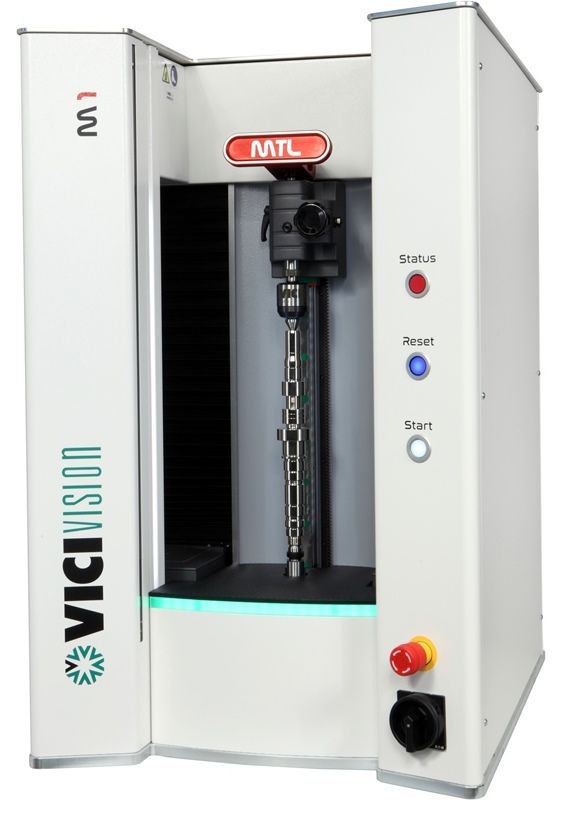
M1 – M1c
The ideal measurement system to flank multi-spindle lathes or sliding head lathes.
Compact and ergonomic, the ideal automated optical comparator to flank multi-spindle lathes or sliding head lathes.
M1 Now even faster, it reduces measuring times and sets a new bar in its sector.
Inspect from simple fittings to small shafts measuring up to 300×60 mm.
M1c ideal measuring system for minute turned parts.
The aim is providing high measuring standards in a price-competitive and compact model.
Designed to measure up to 160×60 mm.
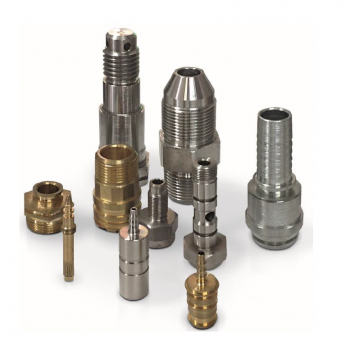
Ideal for fittings and turned threads
It is often difficult for manufacturers to get accurate and objective results when measuring turned threads.
A single metrology software tool can automatically measure fittings and turned threads, as well as screws and bolts, in a matter of seconds.
Here you will find the top features of the VICIVISION metrology software dedicated to these specific measurements.
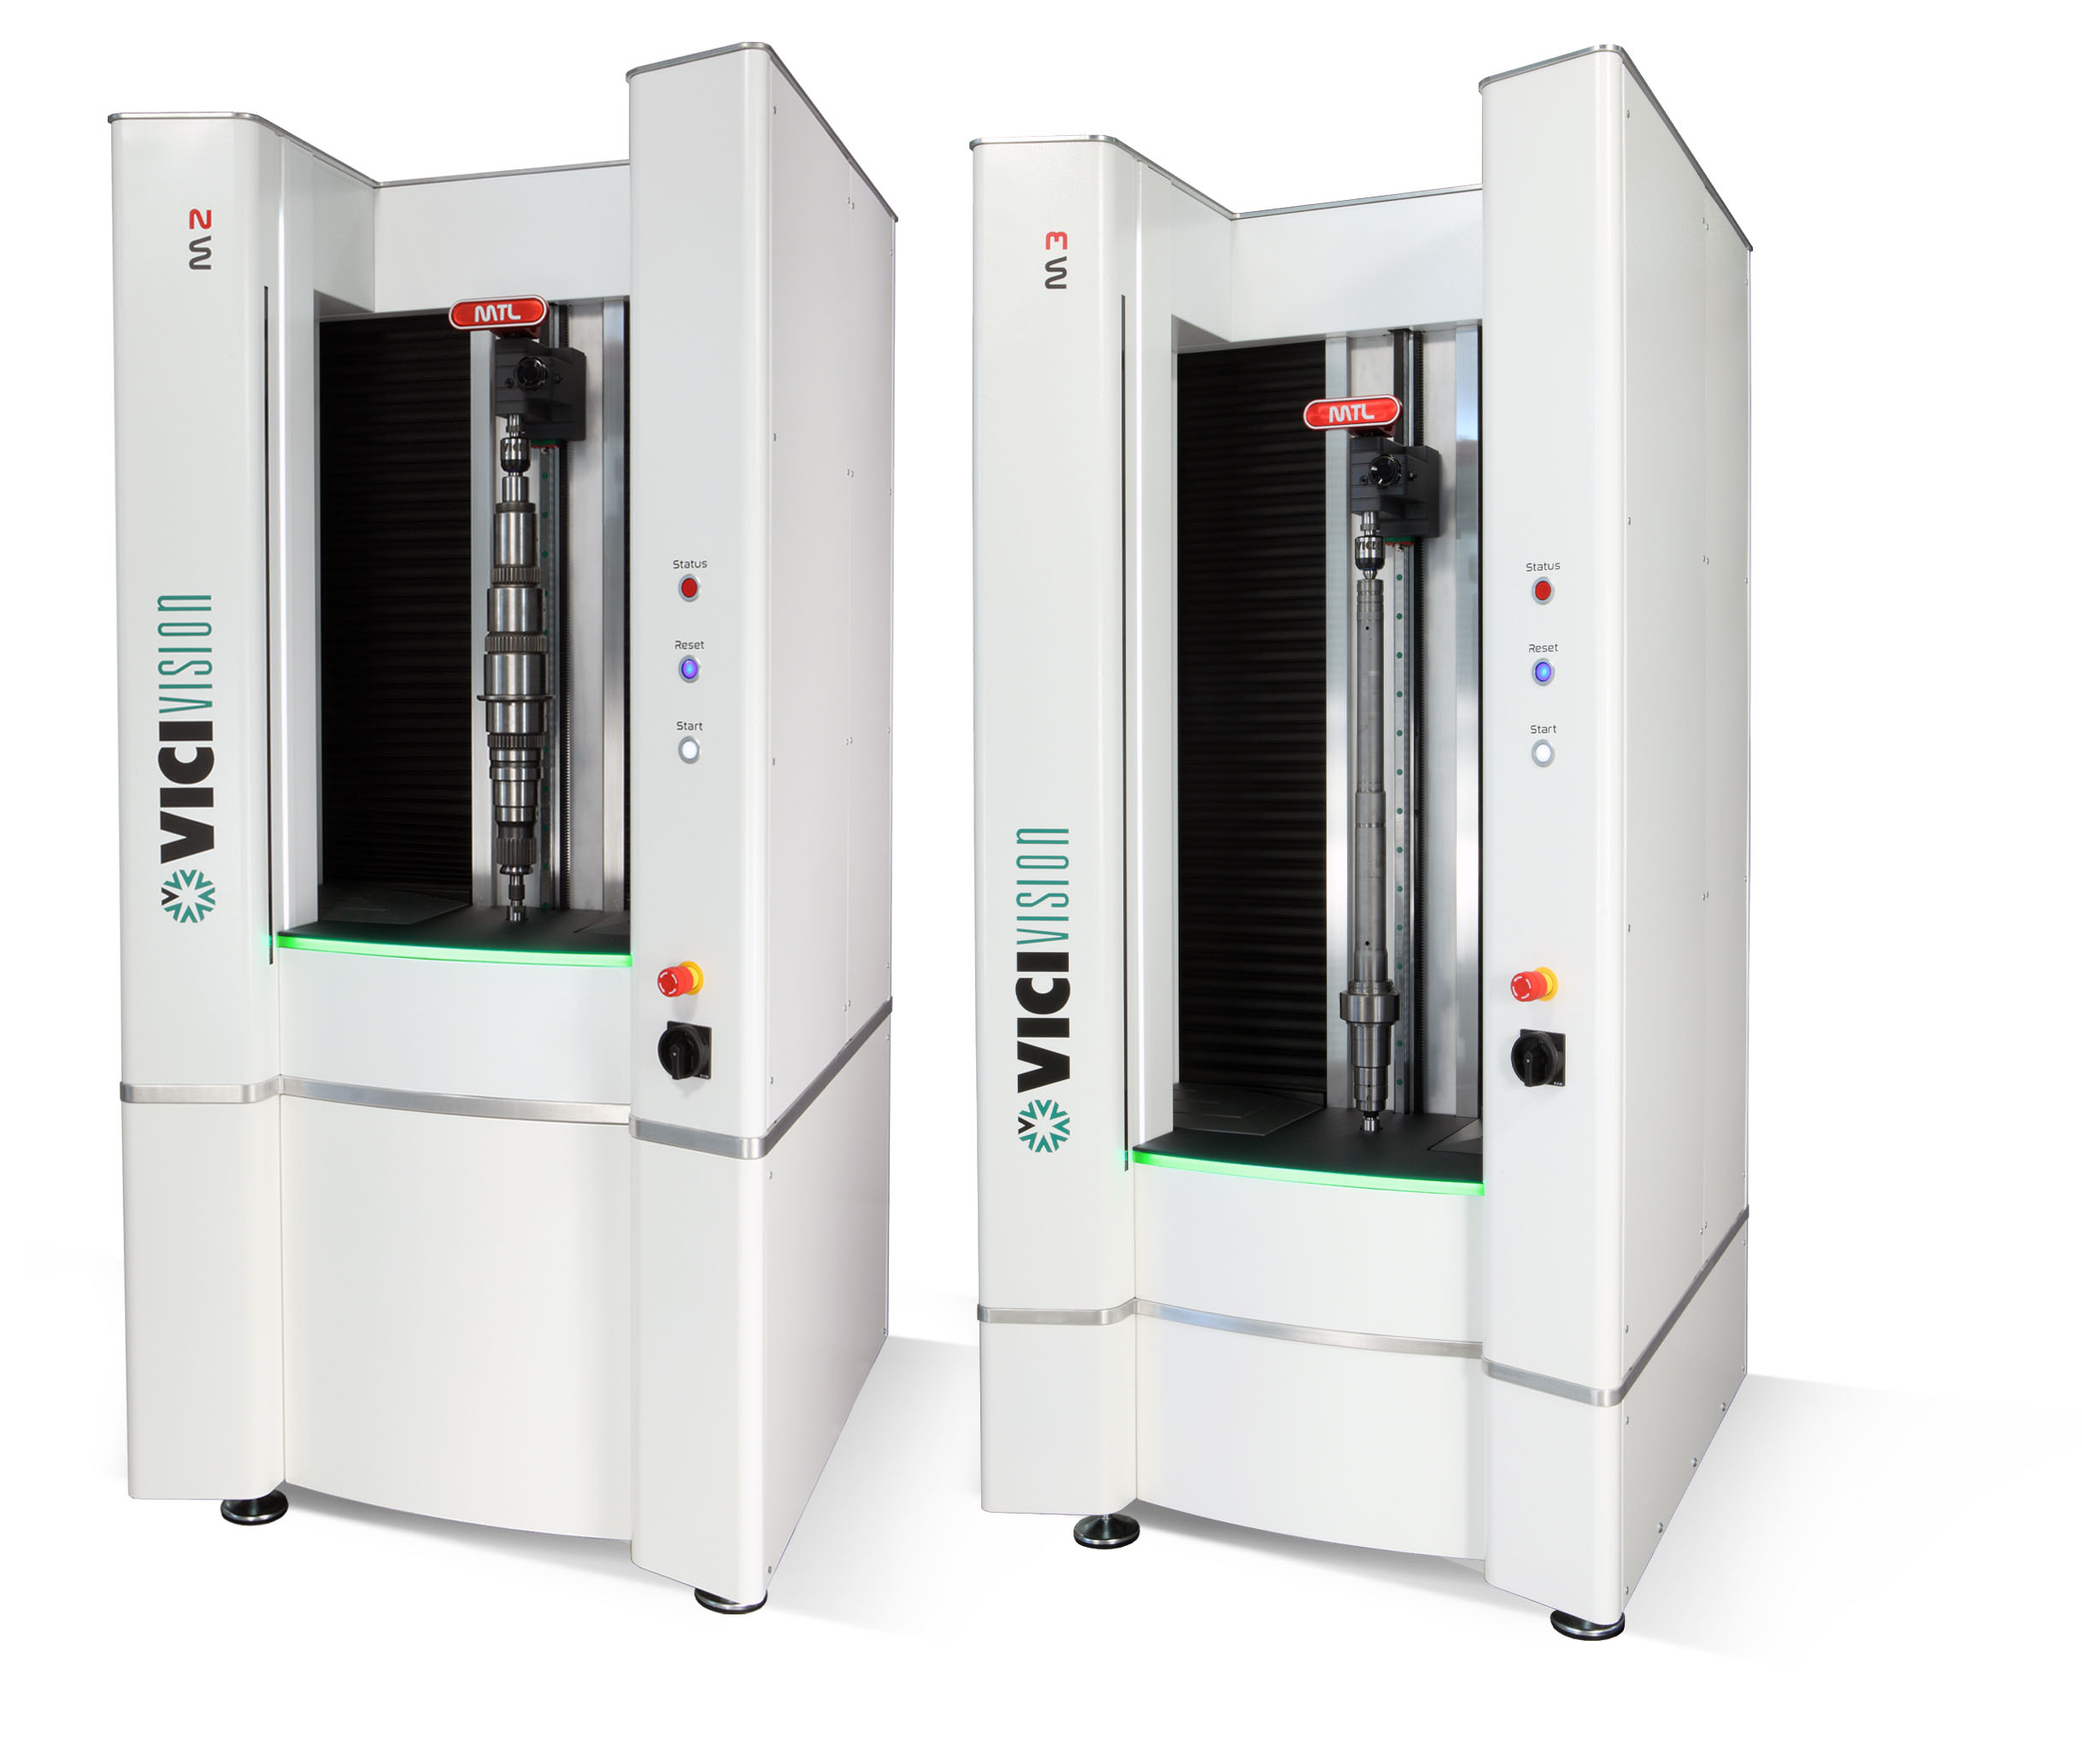
M2 – M3
From small components to 140x900mm shafts.
Designed not only to measure large shafts, they can also capture minute details such as bevels and small radii.
M2 allows to measure from small turned elements up to large shafts of 600×140 mm, with a load capacity of 625×240 mm.
M3 designed to measure shafts up to 140×900 mm, with a load capacity of 925×240 mm.
Working area
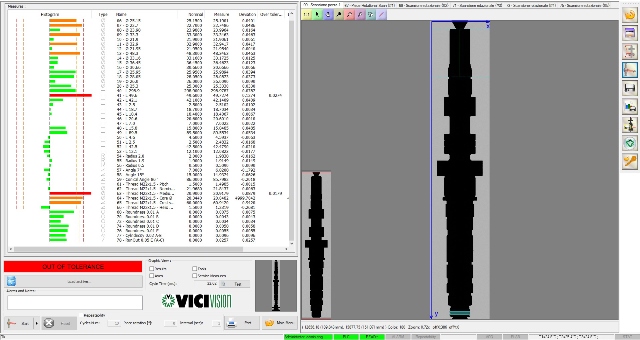
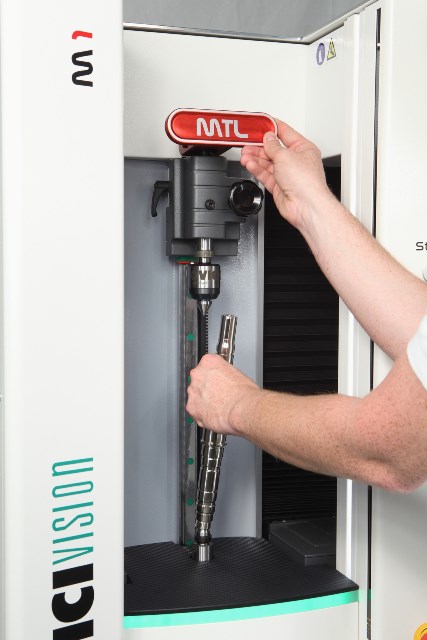
The live image of the piece displayed by the metrology software, combined with the LED illuminated extensive working area, gives a clear vision of the conditions of the component being measured.
The retractable sensors enabled during loading and unloading provide reinforcement, with additional one of a kind protective bumpers.
The ergonomic piece clamping lever of the measuring machine has a considerably wide grip, which is suitable both for left and right-handed operators. The lever also prevents obstruction of the view when clamping or unclamping the part.
An increased load capacity allows elements up to 120 mm in diameter to be positioned.
Greater efficiency on smaller batches
Producing today means being efficient even on small batches.
Producing on small batches requires to consider retooling costs and times. The solution is to speed up the batch change.
When we produce a part and measure it with traditional measuring tools, such as a profile projector, we collect data to correct the lathe parameters.
This can take anywhere from 10 to 20 minutes. We repeat the same operation for the following pieces. Total downtime: almost 2 hours, of which at least 1 hour for measurement.
By installing a measuring instrument such as M1 – M1c –M2 or M3 next to the lathe, rather than in the metrology room, the operator is autonomous and responsible for dimensional control. In less than 60 seconds you get an automatic report useful for correcting the lathe parameters.
This makes the company efficient even on small batches.
- Speed-up batch change: save up to one hour for each batch change.
- Avoid Downtimes caused by tool wearing even if tolerances are tight.
- Reduction of rejects implementing the preventive actions indicated by the measurement trend graphs.
The M Series can be used by multiple operators simultaneously to serve multiple machines.
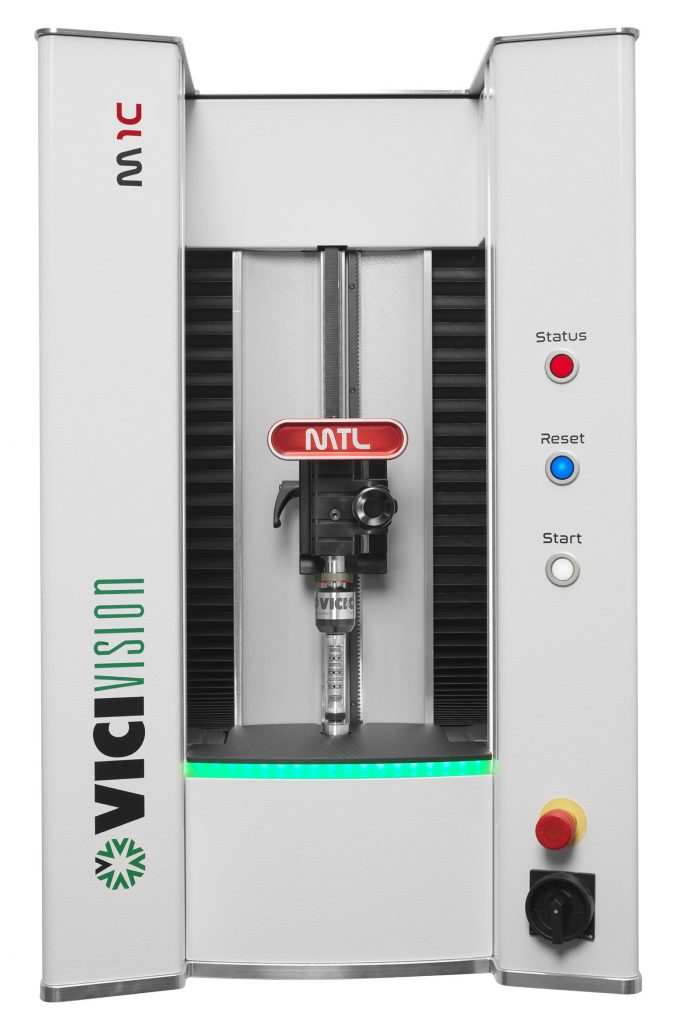
PHOTO GALLERY
Cutting-edge software
The brand new MTL 8.10 version is designed to improve the control phase and further extend the number of possible measurements. It includes specific tools for static and dynamic measurements, and dedicated tools for threads nuts, camshafts, turbines, etc.
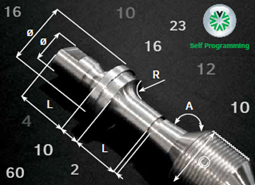
Advanced software features
New automatic features help the operator to get measurements: self-programming, automatic loading of the part program, step by step assisted programming, DXF comparison.
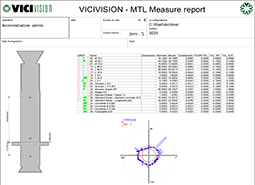
Measurements report
The software allows the operator to print or export complete and custom pdf measurement reports. Results of measurements on histograms for immediate consultation.

