The automotive industry is currently undergoing transformation, characterized by a progressive move towards electric vehicles.
In this ever-evolving industry of lean manufacturing, small batch sizes, and reduced inventories, manufacturers are searching for flexible solutions to keep up with increased product variability.
Large production runs are giving way to variability and small flexible manufacturing cells are often chosen over rigid production lines.
Measuring instruments follow the same rules: flexible, adaptable and versatile. They are designed to support manufacturing processes so, naturally, they must be located on the shop floor.
In a production environment, hard gaging and contact measurement can be: expensive, slow and maintenance intensive. In addition, when dealing with high volumes, typical gages are subject to wear or damage. This is even true for highly specific crankshaft inspection machines.
Wear and damage of instruments on the shop floor requires maintenance and down time, which, if not timely, could compromise the profitability of the job.
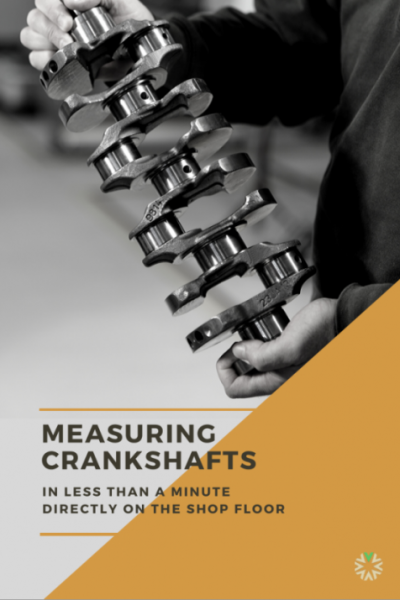
Accurate and objective results are essential! That’s why VICIVISION has developed a specific software tool dedicated to crankshaft measurements directly on the shop floor.

