TECHNO Range
Find your way among more than 20 models.
This measuring machine range is designed to adapt to current and future manufacturing demands. Discover the wide scope of measurement ranges offered. The modular range of the Techno series can provide the most suitable machine for your production. From 40 to 180 mm in diameter, and from 300 to 1250 mm in length. VICIVISION offers the evolution of the profile projector, a compact and quick optical comparator for shopfloor use.
Download for free the guide Measuring threads
It is often difficult for manufacturers to get accurate and objective results when measuring turned threads. Sometimes it is hard to measure fittings and rolled threads. With the VICIVISION Thread Tool, a single software function can automatically measure fittings and turned threads, as well as screws and bolts, in a matter of seconds.
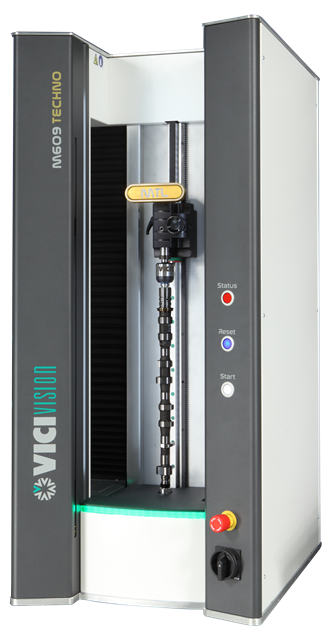
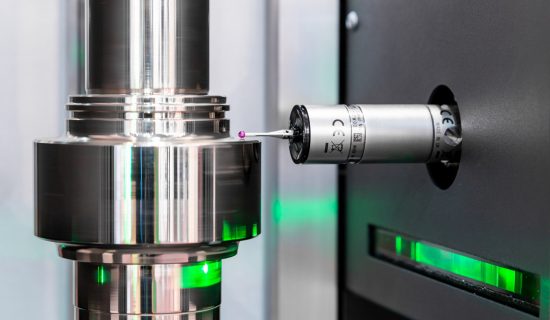
Unbeatable performance with optical and tactile combination
VICIVISION provides a completely new measuring function for shafts, combining the specific optical know-how method with a Touch Probe measuring system
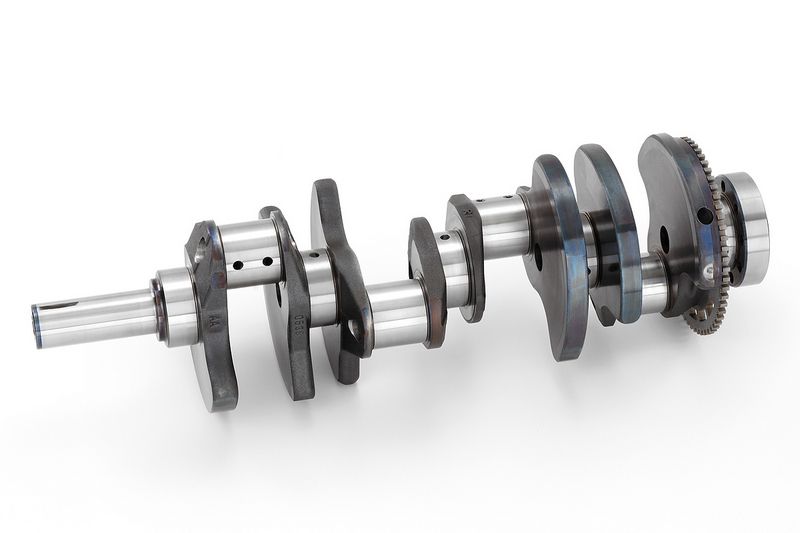
Ideal to measure crankshaft
Manufacturers are searching for flexible solutions to keep up with increased product variability. Flexible, adaptable and versatile.
VICIVISION has developed a specific software tool dedicated to crankshaft measurements directly on the shop floor.
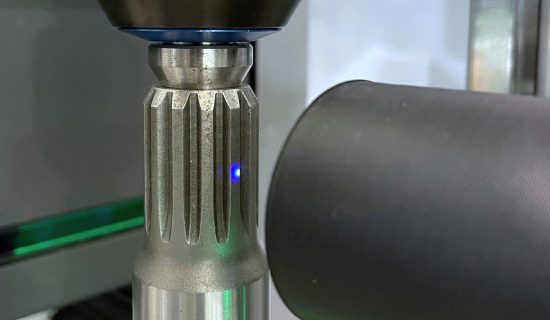
Measurement is more complete with the new confocal sensor
Measure the typical features of splined shafts with a single scan.
Any operator can measure external profile, static and dynamic measurements, as well as splines.
Increasing your production.
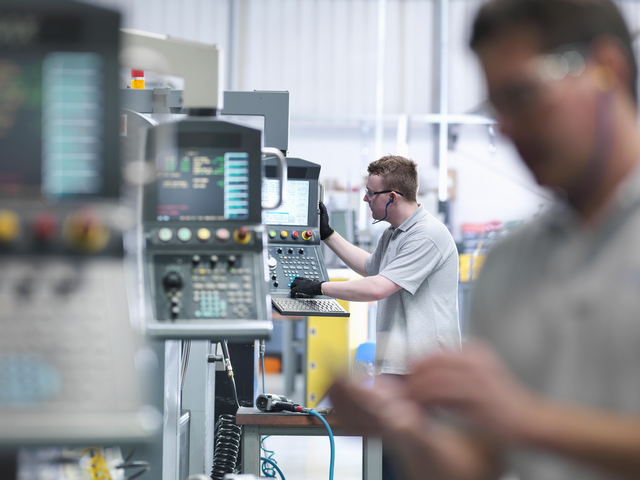
VICIVISION brings inspection equipment to the place it offers the greatest advantage: directly on the production floor. Each part produced by the CNC lathe can be measured within the production environment. Greater productivity also on smaller batches: batch changing is fast and efficient.
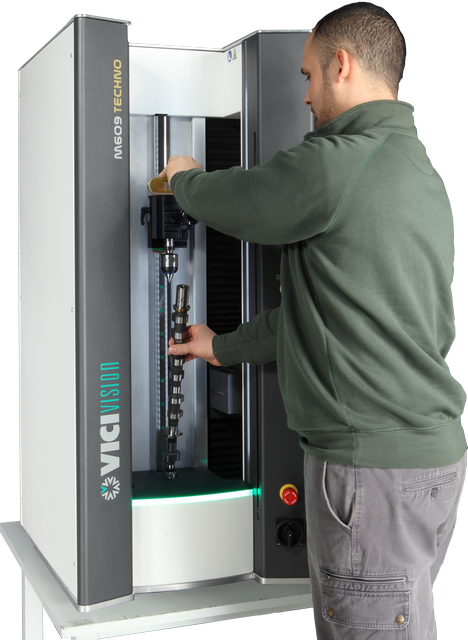
Turned part measurement for a turning future.
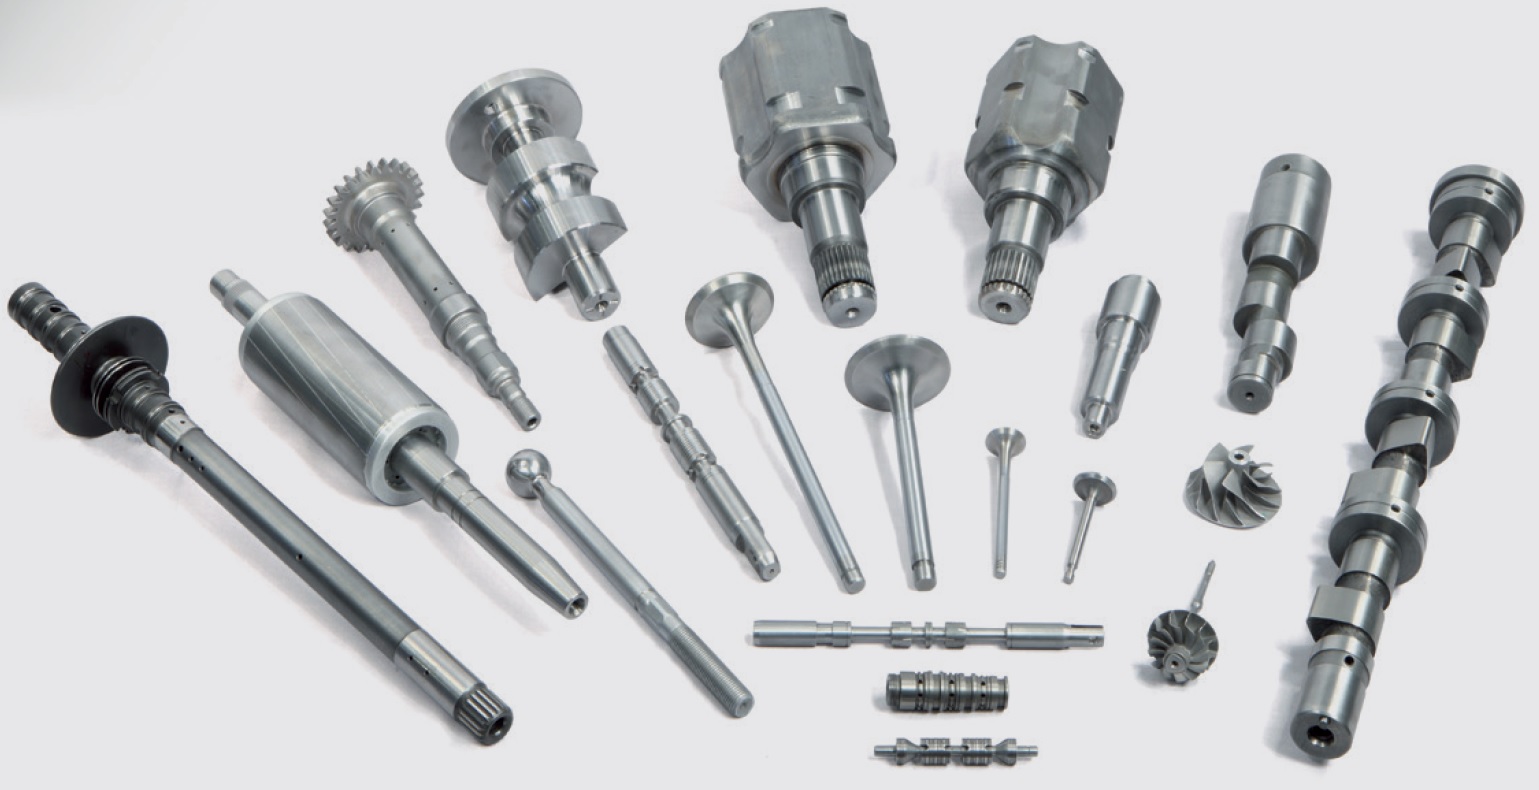
Automotive, aerospace, constructions, electrics & derivatives, medical, oil & gas, are just a few leading sectors attracting foreign investments. Opportunities and challenges are always around the corner: growing demand, increasingly quality standard requests, changings toward digital, on-time deliveries, competitive pressure. To emerge in this business environment, manufacturing companies need to be aware that inspection time and results affect production costs.
One measurement system for multiple CNC lathes.
A single measurement system can operate next to multiple machining centers, involving more than one operator.
Produce more with the same number of CNC-lathes.
Producing more means increasing efficiency. It means making the most of your potential.
You can raise your productivity without any additional investment:
the machine includes the function of profilometers, optical comparators, caliphers, height gauge and metrology equipment.
Keeping production in tolerance.
Reduction in machine downtime thanks to immediate inspection without the need to leave the workstation.
You can implement preventive actions indicated by the measurement trend graphs to obtain a significant reduction in rejects.
The operator can see which values are about to become out of tolerance and analyse them over time. He will be able to correct the process before this produces rejects leading to machine downtime.
The goal of an optical measurement is not only measuring, but also keeping production parts within tolerance, avoiding machine downtimes.
VICIVISION Tool-loop.
It is possible to set the interface between VICIVISION systems and the workstation. This will automatically correct tool parameters. This function eliminates human error and speeds up tool parameter settings. Each part produced is ready to be delivered.
The optical measuring device that improves productivity.
Operators are more independent during inspection. The tool offsets can be adjusted before parts become out of tolerance in order to reduce the amount of rejects produced.
Cutting-edge software
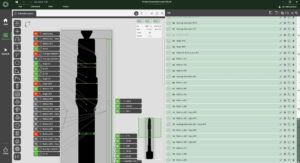
The brand new MTL 8.10 version is designed to improve the control phase and further extend the number of possible measurements. It includes specific tools for static and dynamic measurements, and dedicated tools for threads nuts, camshafts, turbines, etc.
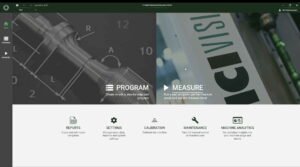
Advanced software features
New automatic features help the operator to get measurements: self-programming, automatic loading of the part program, step by step assisted programming, DXF comparison.
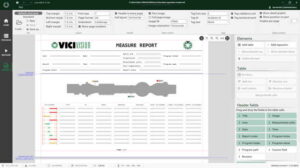
Measurements report
The software allows the operator to print or export complete and custom pdf measurement reports. Results of measurements on histograms for immediate consultation.
