A whole range of solutions.
Choose the most suitable instrument to measure your parts.
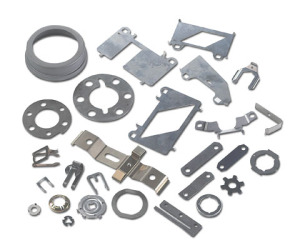
• Fittings • Fluid connectors • Electrospindles • Bar turned parts
• Multi-spindle parts • Pin Hubs • Precision screws • Rolled screws • Riveting
• Screws and bolts • Turned parts • Turned parts for electrical components •
• Pinion shafts • Oil valves • Faucets • Hydraulic pistons
Valves • Pneumatic cylinders • Lathe parts • Metal turning •
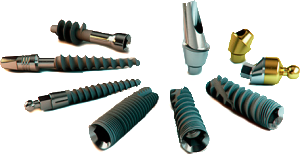
• Dental implants • Transmission shafts • Gear shafts • Bone screws • Cortical screws
• Medical screws • Turbine Wheels • Turbo chargers • Camshafts • Watch parts •
Cv-joints • Fuel injectors • Crankshafts • Automotive axles
How big are your parts?
Consider the size of your parts and select the suitable measuring field.
Our measuring range goes from 8×100 mm for micro components,
to 170×1250 mm for big parts and shafts, with many sizes in between.

How many parts are inspected?
The number of parts you plan to measure helps us quantify expected results
in terms of time saved and return on investment.

What are the requested tolerances?
Check some drawings to determine the tightest tolerances.
VICIVISION Optical Measuring Machines guarantee an accuracy of 2+D[(mm)/100] µm on diameters
and 5+L[(mm)/100] µm on lengths.


